Choose the concept to keep
Identify the composition that best expresses the idea, even if details still need work.
 TattooPreviewAI
Move from an original idea to selected concept, stencil-style linework, approximate placement, and a practical brief for your tattoo consultation.
Start with a concept, then turn the selected direction into stencil-style linework for 3 credits.
For planning and artist review only. Check local tattoo laws and consult a professional tattoo artist.
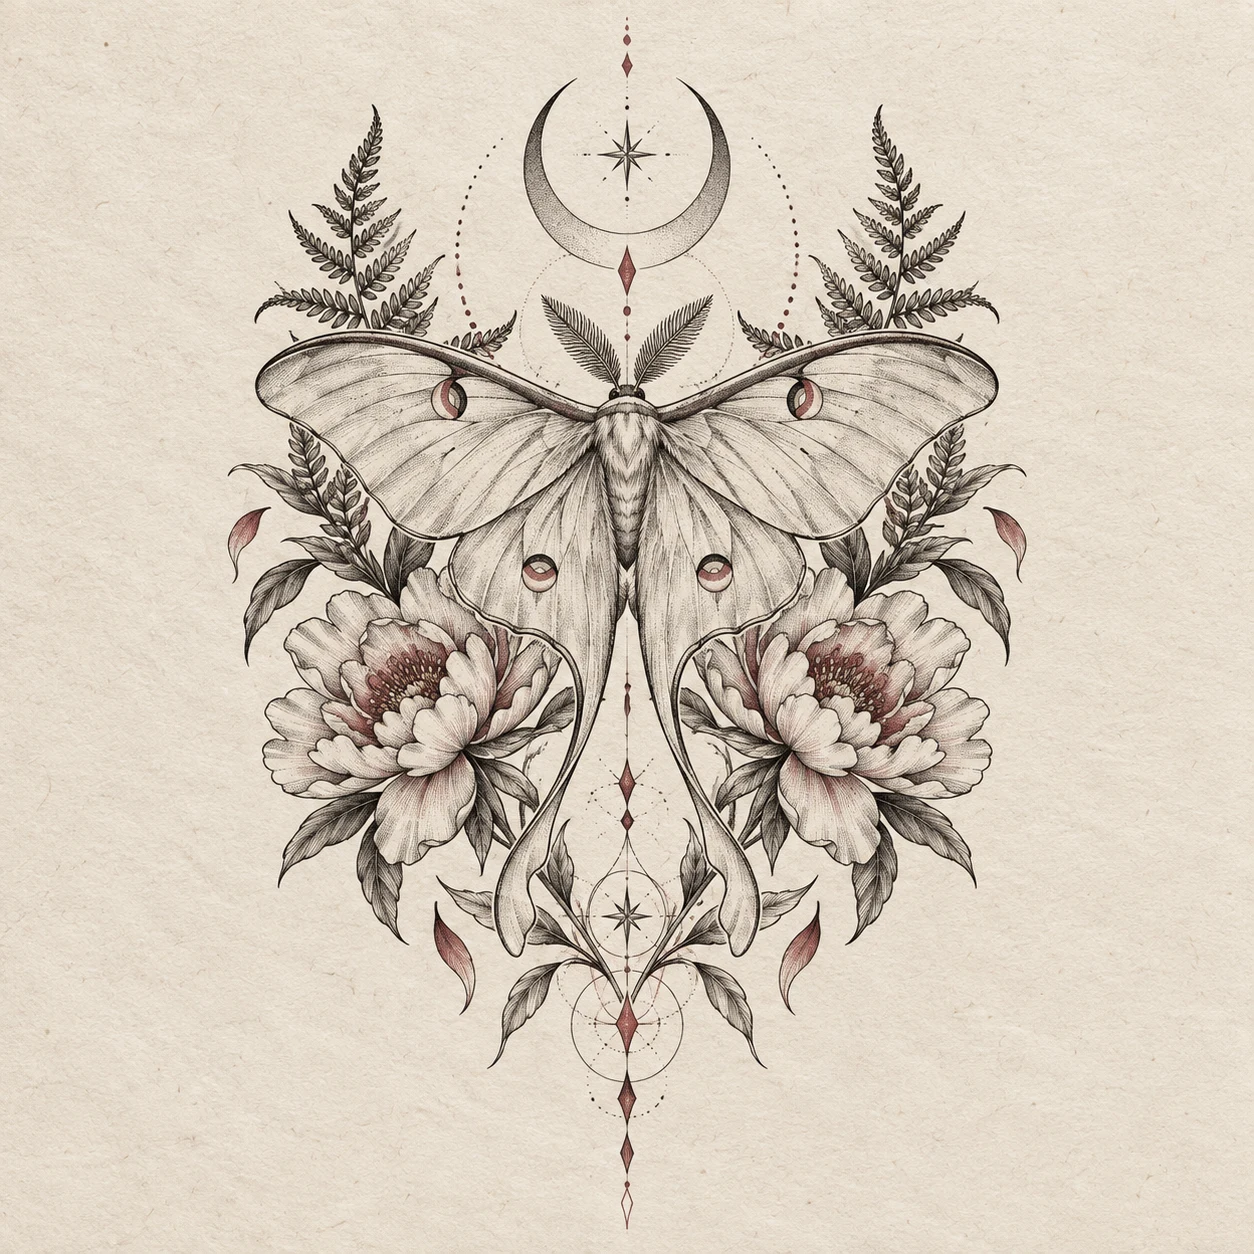
Create the concept first, choose the strongest composition, then generate stencil-style linework from that exact selection.
The workflow begins with a concept so the later stencil keeps the composition you selected.
 Private planningNot saved on this device
For planning and artist review only. Results may need cleanup, resizing, redraw or placement changes.
A tattoo stencil maker is most useful after you have a direction to evaluate. The goal here is to check, revise, and organize linework—especially lettering, dates, scale, placement, and non-negotiable details—before a professional redraw.
Identify the composition that best expresses the idea, even if details still need work.
Record what to remove, simplify, enlarge, verify, or leave flexible for the artist.
Connect the linework, placement preference, dimensions, and open questions in one brief.
A useful review produces specific instructions. “Simplify two leaves and open space around the date” is more actionable than “make it better.”
Start with one free concept preview. A concept set uses 3 credits and selected stencil-style linework uses another 3. Positioning changes remain free; your artist still creates the final tattoo-ready drawing and transfer.
The result is stencil-style planning artwork, not a tattoo-ready transfer stencil. Printable production exports are not currently offered. A professional should redraw, clean, size, mirror when appropriate, and prepare the actual stencil under their studio process.
A limited free concept preview is available. Additional concepts, selected stencil-style linework, and final placement previews use credits as displayed. Adjusting the positioning guide is free, allowing you to compare scale and position before creating the final preview.
Do not copy another person's tattoo or artwork. Describe the underlying subject and create an original composition instead. If you own an original drawing, discuss it directly with your tattoo artist; direct image upload is not available in the current workflow.
You can include lettering as an idea, but generated characters may be incorrect. Keep exact text and dates in the artist brief, proofread them carefully, and have the artist draw or typeset them separately before anything permanent is approved.
Detail should match the planned size, placement, and visual direction. Prioritize a clear silhouette, structural contours, and open spacing. Small decorative marks that look good on screen may merge or age poorly, so ask the artist what should be removed.
Generated output is a planning reference and is not guaranteed unique. Ownership and usage can depend on applicable terms, source material, and the artist's contribution. Use authorized inputs and agree on final design rights directly with your tattoo professional.
Both terms describe early linework planning here. The maker emphasizes the connected process—brief, concept choice, linework, placement, and artist notes—while the generated image remains a reference that a professional must redraw and prepare for transfer.
Review the linework, verify permanent details, and carry a concise revision list into the consultation.
Build My Stencil DraftAn online tattoo stencil maker helps organize the early design decisions that happen before a professional creates a studio-ready stencil. You can describe an original tattoo idea, compare visual directions, choose one composition, and convert that choice into cleaner black-line artwork. The result is useful for planning and communication. It is not the thermal-transfer stencil, final drawing, or technical instruction a tattoo artist prepares for real skin.
TattooPreview AI treats stencil making as a connected process rather than a one-click filter. Meaning comes first, then concept selection, linework, placement context, and an artist brief. Keeping these stages connected reduces a common problem: a user likes one concept, but the later stencil no longer reflects it. The selected version stays visible so you can judge whether the linework preserves the original focal subject, balance, and emotional direction.
Write a brief with one focal subject, its meaning, broad visual direction, body area, and approximate size. Generate concept options and compare their silhouettes and compositions. Select the direction closest to your intention. Create stencil-style linework from that selection, then inspect line continuity, spacing, and detail density. Finally, use a site-provided body model to explore approximate placement and create a concise handoff note for the artist.
Move backward whenever a later stage reveals a problem. If the linework becomes crowded, simplify the selected concept or increase the planned size. If placement feels too wide, choose a more vertical arrangement rather than shrinking every detail. If the artist brief cannot explain what is essential, revisit the meaning and priorities. A structured loop produces a more coherent reference than generating many disconnected images and hoping one happens to feel finished.
Describe subject, composition, style, detail, placement, and size in separate phrases. For example: original peony and fern arrangement; one open peony as the focal point; stems flowing upward; fine-line botanical direction; generous negative space; approximately sixteen centimeters on the outer forearm. Add the meaning if it influences mood. This gives the tattoo stencil maker a usable hierarchy instead of a loose list of symbols.
Avoid contradictory instructions such as tiny design with extremely detailed realism and heavy blackwork. Decide which quality matters most. Use exclusions sparingly for common mistakes: no lettering, no frame, no extra flowers, or no background. Do not request an exact copy of existing artwork or the signature style of a living artist. Broad style language is enough to explore a direction while leaving the final professional design original.
A useful linework draft separates major contours from supporting texture. The outer shape should establish the subject, interior lines should explain structure, and decorative marks should not fill every open area. Negative space is part of the design because it keeps neighboring forms distinct. When checking the output, reduce it to the approximate intended size. If the focal point disappears or details merge, the composition probably needs simplification.
Symmetry, geometry, lettering, anatomy, and repeated patterns deserve extra scrutiny. AI-generated images can look polished while containing uneven shapes, broken lines, impossible joints, or altered text. Treat these as revision signals, not as details to trace. Your artist can rebuild symmetry, correct anatomy, draw accurate lettering, and choose line weights that suit the body area and expected aging. The online draft helps show preference; professional drawing establishes technical quality.
Clients can use the tool to clarify a first tattoo, organize a memorial idea, compare flower arrangements, simplify an animal concept, or test whether several symbols belong in one composition. Tattoo artists can use it as an early conversation aid when a client is struggling to describe mood or layout, while still creating the final artwork themselves. The strongest use case is reducing ambiguity before paid design and consultation time begins.
Fine-line directions benefit from open spacing and a limited number of small marks. Blackwork directions need deliberate blocks and readable negative shapes. Geometric concepts need a clear central structure but must be rebuilt for real precision. Illustrative concepts can carry more texture at larger sizes. Ornamental compositions rely on rhythm and balance. Use these labels as broad starting points, not promises that generated output satisfies the technical rules of a tattoo style.
Review the result in passes. First confirm content: are the correct subjects present, facing the right direction, with no invented objects? Next review composition: is there one focal point, a readable silhouette, and balanced open space? Then inspect line logic: do contours connect intentionally, and can major forms be separated? Finally, compare the detail level with the planned size and placement. Write down each issue before requesting another version.
A focused revision might ask for a larger central flower, fewer leaves, a more vertical silhouette, simpler interior lines, or more space around a date placeholder. Avoid changing subject, style, placement, and composition at the same time, because you will not know which change improved the result. Save the best version as a reference and stop when it communicates the direction well enough for professional review. The artist does not need a perfect generated image to understand a clear decision.
Use placement models to explore whether the stencil feels proportionate on an upper arm, forearm, calf, or shoulder. Move, rotate, and resize the local guide before spending credits on a final blend. Record an approximate height rather than assuming the screen is physically accurate. The model is not your anatomy, and a flat image cannot show full wrapping, muscle movement, scars, existing tattoos, or the way a design changes from different viewing angles.
The artist brief should state the story, selected direction, desired body area, approximate size, essential elements, flexible elements, and open questions. Include concerns such as whether fine details will age well or whether the composition should leave room for future work. This makes the consultation more efficient while respecting the artist's role. They should redraw the piece, fit a real stencil, and guide final decisions about anatomy, line weight, spacing, technique, and placement.
TattooPreview AI does not currently provide a tattoo-ready printable transfer or transparent production file. A displayed linework image should not be traced directly onto skin. Professional stencil preparation may involve redrawing, vector or raster cleanup, sizing, mirroring, thermal printing, transfer products, and studio-specific hygiene procedures. Those steps belong to a trained tattoo professional using appropriate equipment and a design approved for the individual client.
The workflow begins with text prompts and uses site-provided adult body models, so a personal body photo is not required. Keep private information out of prompts and follow the retention choices shown in the interface. Generated results are not guaranteed to be unique or error-free. Check local tattoo laws and age requirements, obtain necessary consent, choose a reputable studio, and rely on professionals for skin assessment, sterile practice, placement fitting, aftercare, and final execution.